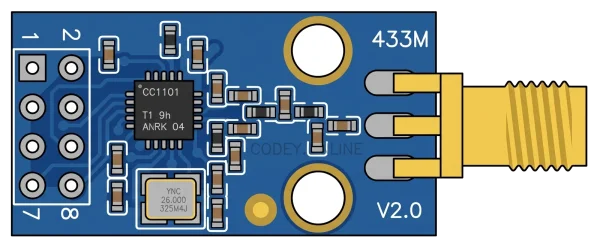
Le module MAX485 est un transceiver RS-485 half-duplex qui convertit les signaux TTL UART en bus RS-485 différentiel et inversement. Il est couramment utilisé pour une communication série robuste sur des câbles plus longs et dans des environnements bruyants, avec des broches côté logique pour la commande émission/réception et des connexions A/B côté bus.
Largeur: 41.2 mm
Brochage — MAX485 TTL to RS485 Converter Module
Broche
Signal
Description
RO
RX
TTL receiver output from RS-485 bus — connect to MCU UART RX.
RE
enable
Active-low receiver enable — pull low to receive RS-485 data.
DE
enable
Driver enable — drive high to transmit onto the RS-485 bus.
DI
TX
TTL driver input — connect to MCU UART TX for RS-485 transmit data.
VCC
power
Module logic power input, typically 5V for the MAX485 transceiver.
B
CAN-L
RS-485 differential bus line B, commonly the inverting/negative line.
A
CAN-H
RS-485 differential bus line A, commonly the non-inverting/positive line.
GND
ground
Ground reference for module power and TTL interface.
Exemple de schéma de câblage — MAX485 TTL to RS485 Converter Module
De
Vers
Fil
board:5V
x1:VCC
red
board:GND
x1:GND
black
board:D3
x1:DI
green
board:D2
x1:RO
blue
board:D4
x1:DE
yellow
board:D4
x1:RE
purple
x1:A
board:D0
cyan
x1:B
board:D1
magenta
Exemple de code Arduino — MAX485 TTL to RS485 Converter Module
Cet exemple a été écrit et vérifié à la compilation pour le arduino-uno. Codey Online l'adapte pour vous à toute autre carte prise en charge.
// MAX485 TTL to RS-485 Converter Module
// Arduino Uno example using SoftwareSerial (Uno has no Serial1).
// Wiring used:
// Arduino 5V  -> VCC
// Arduino GND -> GND
// Arduino D3  -> DI
// Arduino D2  -> RO
// Arduino D4  -> DE and RE (tied together)
// RS-485 bus A -> Arduino D0
// RS-485 bus B -> Arduino D1

#include <SoftwareSerial.h>

const byte PIN_RO = 2;
const byte PIN_DI = 3;
const byte PIN_DE_RE = 4;

// SoftwareSerial(rx, tx)
SoftwareSerial rs485(PIN_RO, PIN_DI);

void rs485Transmit(const char *text) {
  digitalWrite(PIN_DE_RE, HIGH);  // Enable transmitter, disable receiver
  delay(2);

  rs485.print(text);
  rs485.print('\n');
  rs485.flush();

  delay(2);
  digitalWrite(PIN_DE_RE, LOW);   // Return to receive mode
}

void setup() {
  pinMode(PIN_RO, INPUT);
  pinMode(PIN_DI, OUTPUT);
  pinMode(PIN_DE_RE, OUTPUT);
  digitalWrite(PIN_DE_RE, LOW);   // Start in receive mode

  Serial.begin(9600);
  rs485.begin(9600);

  Serial.println("MAX485 RS-485 example started.");
  Serial.println("Type a line in the Serial Monitor and press Send.");
  Serial.println("The Arduino will transmit it over RS-485.");
}

void loop() {
  // Send anything typed in the Serial Monitor to the RS-485 bus.
  if (Serial.available()) {
    String line = Serial.readStringUntil('\n');
    line.trim();
    if (line.length() > 0) {
      Serial.print("Transmitting: ");
      Serial.println(line);
      rs485Transmit(line.c_str());
    }
  }

  // Print any received RS-485 bytes to the USB Serial Monitor.
  while (rs485.available()) {
    char c = (char)rs485.read();
    Serial.print(c);
  }
}
Construisez votre projet Arduino ou ESP32 avec l'IA
Décrivez ce que vous voulez créer. Codey Online écrit le code, dessine le schéma de câblage, le compile et flashe votre carte directement depuis le navigateur.