Part 1 of 15
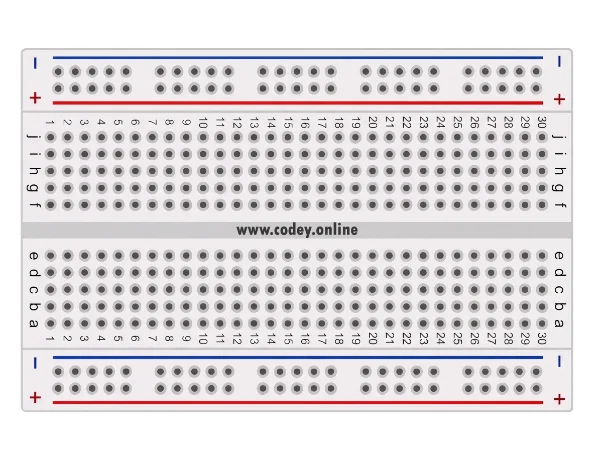
Breadboard
The building board: build without soldering
In your kit: 1×🔎 What is it?
A breadboard is a small board full of holes. You put parts and wires into it. Under the holes are metal strips that connect some holes to each other. This lets you make a circuit without soldering. Made a mistake? Just pull it out and try again.
🔌 This is how you connect it
This is how it works:
- Rows of 5: in the middle part, 5 holes next to each other are connected (a–e and f–j). Everything you put in the same row is connected to each other.
- The gap in the middle separates the two sides. So left (a–e) and right (f–j) are not connected.
- Power rails (+ and −) on the long sides are connected along the whole length. Connect the + to 5V and the − to GND on your Arduino. Now you have power everywhere.
- Power rail: the whole length is connected
- Gap: left and right are not connected
- 5 holes in a row are connected
- ✓ Good: the legs are in different rows
- ✗ Wrong: both legs are in the same row
✨ What can you do with it?
- Try out circuits without soldering
- Give power to several parts at the same time with the + and − rails
- Put an LED and a resistor neatly in series
💡 Tip
Never put the two legs of a part in the same row of 5. Then they are connected to each other and the current just goes around it. It is better to place a part across the gap.
Projects with this part
Codey Online is a product of OTRONIC